Paging slips are the items that have been requested from other libraries. Requests from both SearchOhio and OhioLINK libraries show up in paging slips when printed. The paging slip contains the following information:
- Item title
- Call number
- Barcode
- Record number
- Requesting patron’s name
- Library to which the item will be sent
Preparing the Paging Slips In the
- DCB client, select “Notices” from the left-hand menu towards the bottom.

2. Click on the job name (ex:wppl paging slips), then click on the “Prepare” button in the upper right corner. 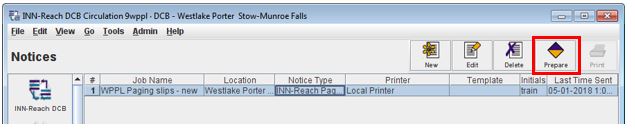
3. On the next screen, select “Local Printer”, then click the “Print” button. 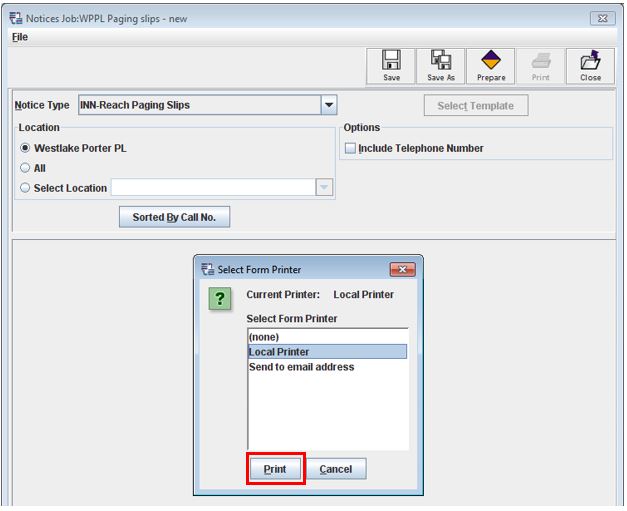
4. Select a printer (make sure to check the paper), then click “Print”.
5. The list of paging slips is sorted by call number (numerically, then alphabetically) and prints in this order. Click the “Send Notices” button to print, and wait for the next pop-up.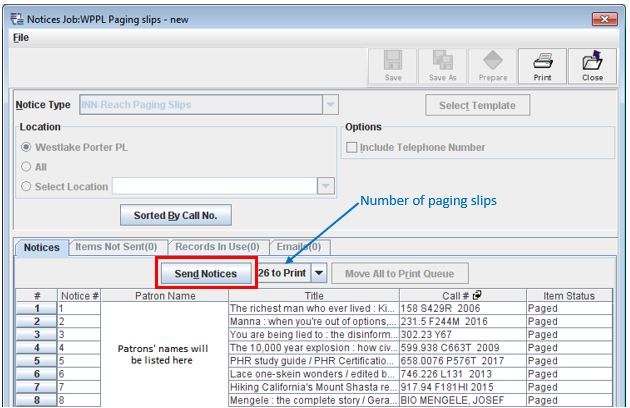
6. Click “OK” to print. Clicking “Cancel” will end the print request. If “Cancel” is clicked, no paging slips will be printed, and the DCB will not get rid of the requested items to “Paged.” “Cancel” is often used when running tests, and to get an idea of how many paging slips to expect for the day.
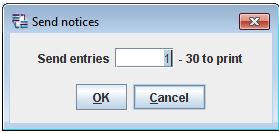
7. Click the “OK” button to print.
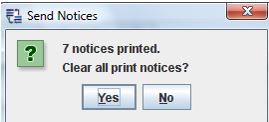
DO NOT CLICK “YES” UNTIL YOU HAVE VERIFIED THAT ALL OF THE PAGING SLIPS HAVE PRINTED.
8. To verify that all of the paging slips have printed, go to the printer to collect the printed pages and check the call number of the last item printed. If it falls near the end of the normal print order (i.e. Teen is always last, etc.), check that the printer is not out of paper or that some other error has occurred. Once the printer issue has been corrected and all of the paging slips have printed, you may click “Yes” to clear the print notices.
Clicking “Yes” clears the paging slips, erasing the list of requested items from Notices and creating a fresh list of requested items. Printing the paging slips commits WPPL to either filling the request or to sending the request to the next SearchOhio library who has the item. Once the paging slips have been printed, some action must be performed on each slip, be it sending the item, transferring to another barcode, or canceling when not available.
Clicking “No” will still print the paging slips, but the paging slips will not clear and will remain queued for printing. The same slips will print again the next time paging slips are run. Clear the list every time, unless there is an issue with printing.
Transferring Holds to Another Item
If a local item with multiple copies has been requested, but the specific copy requested is not available, the request can be transferred to another item. Click on the “Search / Request” button in the left-hand menu. ![]()
Click on the drop-down menu next to “Index” and select “b Barcode”. ![]()
![]()
Enter the barcode into the field next to the drop-down menu and click the “Search” button. Do not put a ‘b’ before any barcodes with special characters.![]()
Select the line for the paged copy, then click “Transfer Requests.” ![]()
Click on the drop-down box and select the “Recnum” of the copy you want to transfer the request to. Click “OK”.
![]()
The next few pop-ups are to confirm the transfer. Click ‘Yes’ to transfer the hold.
![]()
Libraries can decide if they want to change the item status of items that they cannot find to ‘Missing’. It will make you say ‘Yes’ or ‘No’ in a pop-up.![]()
A pop-up will ask if you want to queue for later printing. Click “No.” On the original paging slip, black out the printed barcode on the bottom right and write in the barcode of the item being sent.
![]()
Refresh the window to cancel the next item by clicking the “Close” button in the upper right corner.
![]()
Repeat this process until all of the items that need to be transferred have been processed. Check the transferred items out in the DCB via “Library Check-Out” following the normal checkout procedures.